
How to Level the Ground for a Shed: Step-by-Step Guide
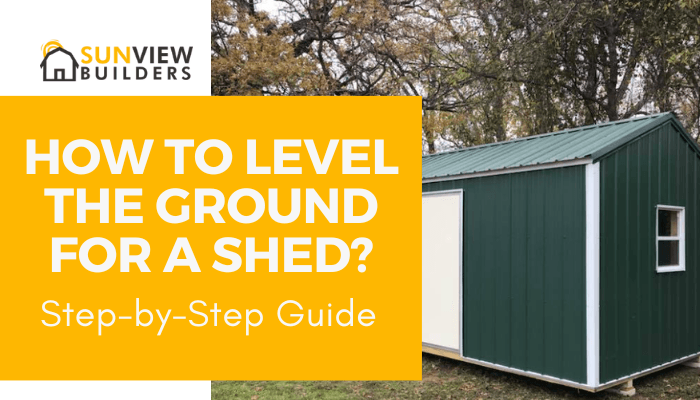
How to Level the Ground for a Shed is one of the most important steps before installation. Because installing a shed is more than just placing it in your backyard, the ground it sits on matters a lot.
If the site isn’t leveled properly, you may face doors that won’t close, walls that lean, floors that sag, and water pooling under the shed.
Over time, this can cause structural damage, wood rot, and even shorten the life of your shed. Preparing the ground before installation avoids these issues and ensures your shed sits securely.
At Sunview Builders, we also handle minor adjustments on-site if anything is missed, so you don’t have to worry.
How to Level the Ground for a Shed: Step-by-Step Guide
1. Pick the Right Spot
Start by looking for a naturally flat area. Avoid low spots where water collects and areas with large tree roots. If the ground slopes slightly, don’t worry, small adjustments can level it. Mark the shed’s footprint with stakes and string, leaving a 12–24 inch buffer around the edges for access and drainage.
2. Clear the Area
Remove grass, rocks, roots, and debris to create a clean, even workspace. For smaller sheds, a shovel and rake will do. For larger areas, tools like a sod cutter or skid steer can speed things up. A clear site prevents future settling and makes leveling much easier.
3. Remove High Spots
Use a shovel to cut down raised areas, aiming for a gradual grade. If the site has gentle slopes, work slowly to create a more even surface. Save the soil you remove; it will help fill in low spots later.
4. Fill Low Spots
Spread soil evenly over dips and compact it firmly with a hand tamper or plate compactor. Check frequently to make sure the surface is leveling out. Repeat as needed until the area feels stable underfoot.
5. Check for Level
Place a long board or 2×4 across the area and use a spirit level to ensure it’s flat. Adjust soil, sand, or gravel in spots that dip or rise. Taking this extra step now saves headaches during installation.
6. Add Gravel for Drainage
A 2–3 inch layer of gravel or crushed stone improves stability and prevents water from pooling under your shed. Compact it thoroughly; this layer acts as a solid, long-lasting base that protects your shed from moisture damage.
7. Final Walk-Through
Walk around the area and test for soft spots or uneven patches. A firm, level surface is key to a secure shed foundation.
Ready to Get Your Shed Installed?
A properly leveled shed site is the foundation for a strong, long-lasting structure. Skipping or rushing this step can lead to doors that stick, uneven floors, water damage, and costly repairs over time. By taking the time to clear, level, and prepare the ground and adding gravel for drainage, you set your shed up for years of trouble-free use.
At Sunview Builders, we make this process easy. Even if minor adjustments are needed, our team ensures your shed sits securely, level, and ready to use from day one. Preparing the site right the first time saves time, effort, and headaches in the long run.
At Sunview Builders, we offer a wide range of high-quality sheds to fit every need, including:
Storage Sheds: keep tools, equipment, and seasonal items organized
Garden Sheds: practical and stylish solutions for backyard spaces
Chicken Coops & Specialty Sheds: built for function and durability
We make it easy to get your shed delivered and set up:
Free delivery within a 150-mile radius
Rent-to-own options available for flexible payment
Don’t wait, prepare your site today, and let us handle the rest. Contact Sunview Builders now to schedule your shed delivery and installation, and enjoy a secure, level, long-lasting shed without any hassle.